
Norman Chella shares his experience, mistakes and tips on starting a podcast. Read all our articles about podcasting.
In this article, we’re going to introduce you to podcasting with WordPress. Podcasts are a highly engaging medium for content creators. If you are looking to create a community of loyal fans and grow your authority in a field, consider starting a podcast.
Podcasts are different from video, in that people can listen to them passively. It’s just like listening to your Spotify playlist, except there’s conversations, stories and lots of value. You don’t have to look at your screen to take it in!
They are different from radio, in that people choose to listen to them at their own pace. While radio is broadcasted live, listeners download podcasts to listen on their own schedule.
Podcasts are also unique in that they were designed to for free subscriptions, without needing to rely on 3rd parties. With a podcast app, subscribers can get notified of new episodes and even have the new episode automatically download to their device.
When a new episode of my favorite podcast comes out, I get excited and can’t wait to listen to it.
Want to try your hand at podcasting? Here are the steps to start podcasting with WordPress.
Record Your Podcast

Before people can listen to a podcast, it needs to be recorded first!
When I started podcasting, I recorded right into my phone. You could use an app like Voice Memos on iOS, or Easy Voice Recorder on Android. This is especially nice if you’re going mobile, recording everything with your phone.
For a dedicated audio recording kit, I recommend the Samson Q2U mic pack which costs just under $60 USD. It’s a handy piece of work, robust, and comes with all you need. This is a dynamic microphone with both USB and XLR inputs, so you can record directly to your laptop or tablet (with USB adaptor) or into a more advanced setup with an audio interface.
Remember, you only need minimal equipment to get started. A phone is enough, and can record content just like a recorder can. The only difference is sound quality. Of course, the better soundproofing and quality equipment you have, the better the quality of the podcast. We’re always aiming to create an amazing listening experience, so sound quality is a factor.
Speaking of sound quality, don’t make the same mistakes as me! Here are some things I’ve learnt along the way.
Tips for Better Sound Quality
When using a phone, record under a blanket if you can, it really helps! Using the headset microphone helps too because it has built-in noise reduction.
Choose the right microphone. For beginners with little soundproofing, a dynamic microphone might be your best choice because it’s less sensitive to background noise.
I’ve shared a Blue Yeti USB Mic in a café for an interview before, the quality was horrible. The conversation was great, but you don’t want to hear other people eating, chatting, and clinking their utensils. There was so much noise that we couldn’t hear ourselves. It was baaaaad. I’ll need to re-do that again…
Now you’ve got your recording. Well, what happens next?
Edit The Episode
We have to clean the audio. This is the tedious part (well, for me at least).
Editing software is IMPORTANT. This is where you:
- Insert your music
- Cut out unnecessary parts, umm’s and mouth noises (we all make them!)
- Edit the flow to make it sound nicer
- Enhance sound quality (remove background noise, reducing plosives, etc.)
Basically, this is the step that helps you sound awesome. It’s where you add all the flavour in the dish. It’s the slim-fit suit for our voices: with editing software, it’s tailored to give a certain impression.
Another word for editing software is Digital Audio Workstation (DAW). We can think of this as Photoshop but for audio files ?. A few that I can think of are Hindenburg Plus, Reaper and Adobe Audition.
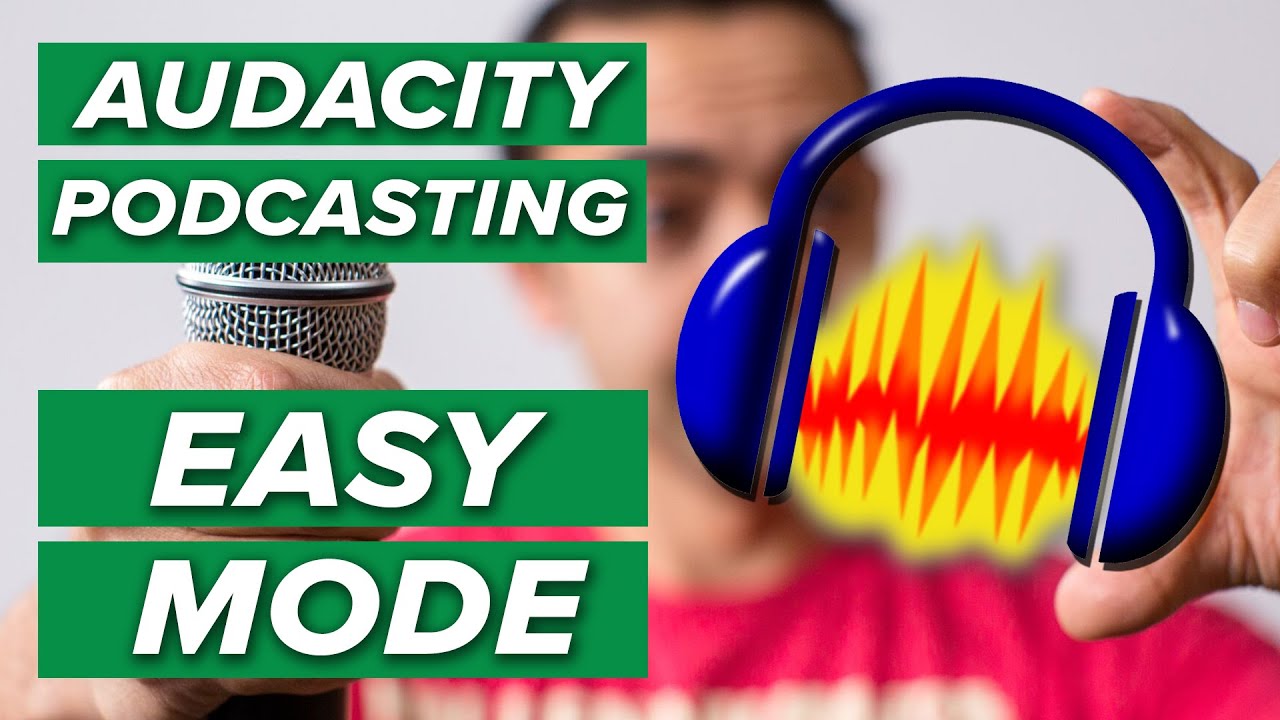
And my favourite of them all: Audacity!
Audacity is free, and gets the job done without being too complicated. It’s also really easy to learn which is nice, since I don’t come from a sound engineering background. You can try it out as a start.
As for learning how to use it, there’s tons of resources on the internet to get you started! Most have ultimate guides that explain things in one go, but I personally like to use YouTube. It’s great because you could follow the instructions as they explain it with their own screen. Here’s one that is permanently in my bookmarks.
Now… how do I listen to you? A website!
Publish Your Podcast
Now that you have a podcast episode, we need to publish it so that your audience can listen to it.
Many podcast services will provide you a website for your podcast, but the best place to publish your podcast is your own website. This way you’re in full control of the branding and experience for your podcast. Your website will enable visitors to:
- Find your podcast online – very important!
- Listen to podcast episodes in their browser
- Read up more about the podcast and its hosts (you!)
- Subscribe directly from your website
Just like recording your podcast, publishing it can be super simple and grow more professional over time.
WordPress Audio Block
The easiest way to publish your podcast is to put an audio player for each episode on your website. You can do this with the audio block in the WordPress post editor.

Better yet, create a blog post for each episode to include show notes and transcripts. That helps improve the SEO for your podcast too.
Once your podcast grows you may want to add a podcast feed. This will allow your listeners to subscribe directly to your podcast, and for you to submit your show to directories like iTunes, Google Play and Stitcher.
So how do you create a podcast feed? The answer, like with many WordPress-related questions, is to use a plugin! The one I recommend is easy to use, and comes at a great price – free!
Seriously Simple Podcasting
The name says it all. This is honestly the simplest plugin I’ve ever tried for podcasting with WordPress. Even without a podcasting background, this is the best plugin to start with, seriously. (You know you like that pun!). Check it out here!
What’s great about SSP? Here’s why we like and recommend it.
Simple to use. As a podcaster, you need to focus your precious time on creating episodes and not worry about back-end admin stuff. SSP is designed to be easy to use out of the box.

Great looking podcast player. Better looking than the default WordPress audio player for sure.
Integrated with Castos podcast hosting. Podcast hosting refers to where the audio file is stored. While you can store your audio files right inside your WordPress media library, that may cause you to run out of bandwidth or disk space. Castos offers dedicated media hosting with unlimited files, bandwidth and episodes for rock solid podcast delivery. SSP’s integration with Castos means that you can upload the file from WordPress and it gets saved to Castos. Learn more about where to host your podcast
Puts your podcast feed in your control. SSP will create a feed for your podcast which you can then distribute to directories like iTunes, Google Play and Stitcher. With a public feed, you can syndicate your podcast anywhere and your listeners can subscribe to you directly.
Asia’s very first
virtual Podcast Summit
Nov 9–10, 2019
Submitting Your Podcast to Podcast Directories
Here’s a checklist on how to submit your podcast to different directories to maximize its exposure with the Seriously Simple Podcasting + WordPress combo.
- Install the Seriously Simple Podcasting from your WordPress dashboard → Plugins → Add New.
- After you’ve activated the plugin, you may get a welcome screen that prompts you to sign up for Castos podcast hosting. Dismiss the message or sign up for the trial.
- Navigate to Podcast → Settings to setup the plugin. Refer to this handy guide for what each setting means.
- Publish at least 1 episode so that your podcast feed isn’t empty. You can do this from either Podcasts → Add New or Posts → Add New.
- Grab your podcast feed, and submit it to
itunesconnect.apple.com. See the step-by-step instructions. - Repeat step 5 for Google Play, Stitcher, etc
Need help figuring out these settings? ClickWP can help setup your podcast with a support pass. Learn more →
Take It One Step At A Time
There are plenty of things you can (and should do!) to help give your users an amazing listening experience. But in the beginning, all of the tutorials and steps for podcasting, plus WordPress can be overwhelming. My advice is to focus on just getting started. Upgrade only when you’re ready to.
I started off small: with only a phone, a recording app and free editing software. This was for a non-fiction podcast that I did ages ago. It’s not amazing quality per se, but it’s passable.
Over time I upgraded because I wanted to give quality sound to my fans. I didn’t have help in the beginning, only guides and YouTube videos. In the end, the contents of the episode itself matter the most in giving an amazing experience, but there’s nothing wrong with sounding better right?
The point here is not to get hung up over equipment or sound quality in the beginning. In my next article, I walk you through how to setup your podcast for success.
The road to podcasting is a satisfying one, you just need the right tools and a can-do attitude. With your microphone, DAW, and SSP, I think you’ll be just fine. It’ll be awesome.
Read next: Planning Your Podcast For Success
This post contains affiliate links that earn us a small commission if you purchase the product from that link.


thanks for the information
Thanks for the information it helps me to get idea about wp